Our colour and writing products are manufactured in our workshops in Geneva since 1915.
Technalo RGB with Kalonji
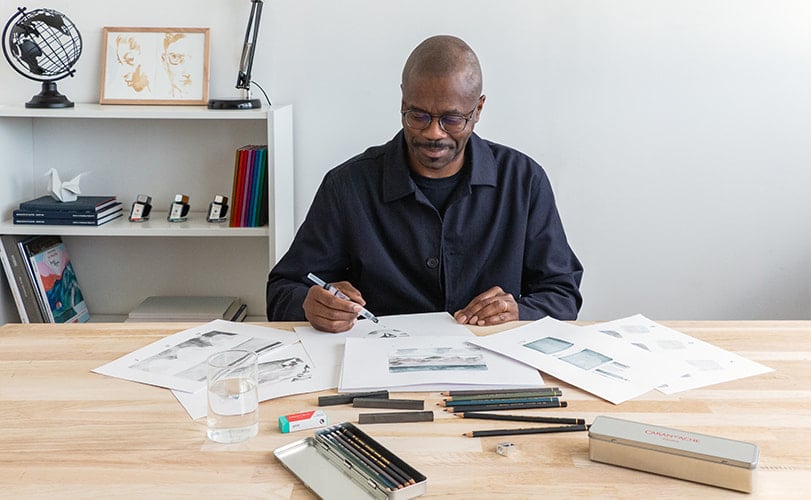
To accompany you in your creative process and help you explore new artistic horizons, our ambassador, JP KALONJI – painter, illustrator and comic strip author – shares his “tips and tricks” with you with regard to the Technalo range.
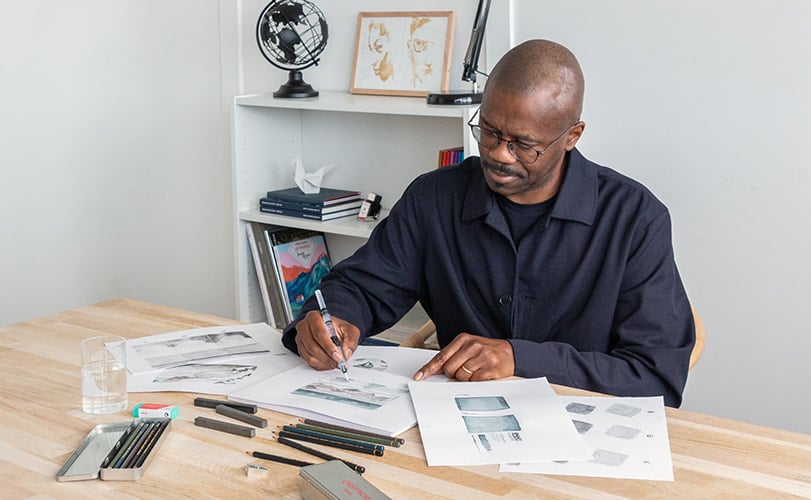
Each step will enable you to discover the numerous possibilities offered by the Technalo and Technalo RGB pencils to bring your ideas to life.
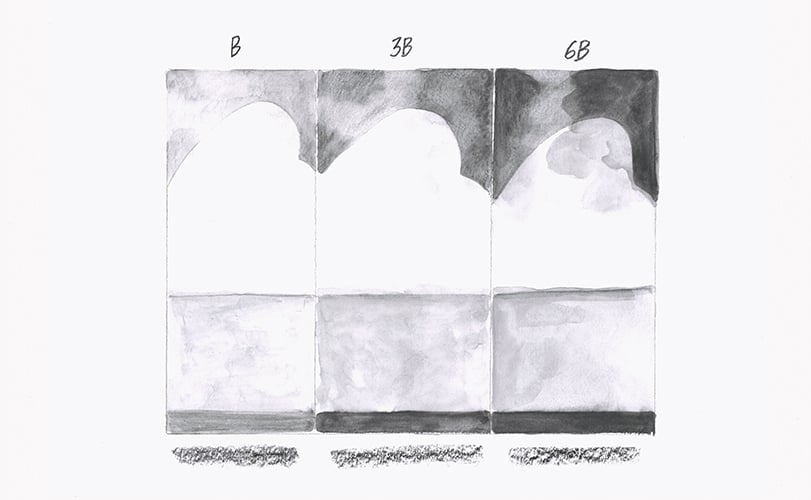
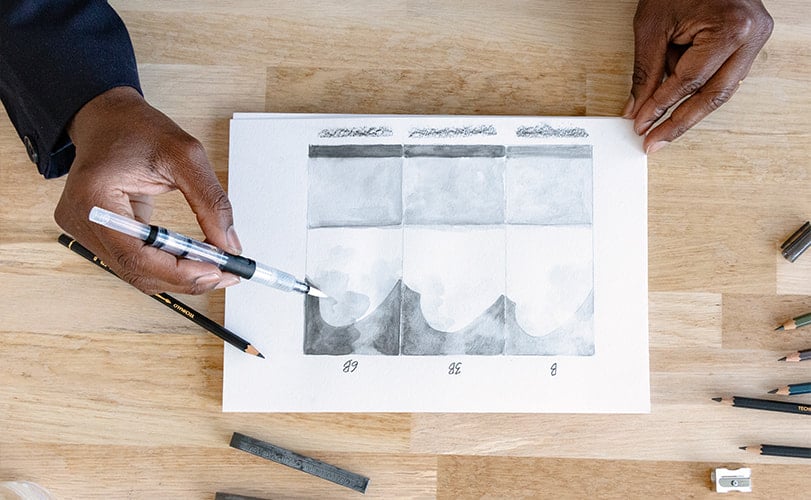
TECHNALO B/3B/6B – DRY AND WATERCOLOUR TECHNIQUES
Creating shadows
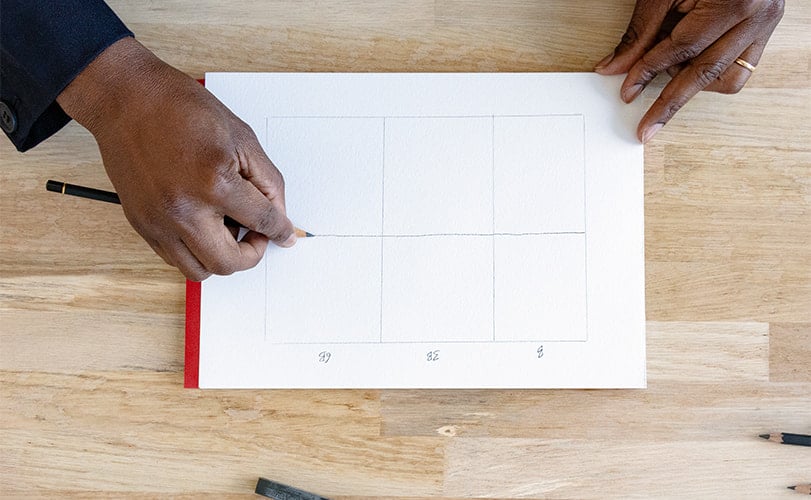
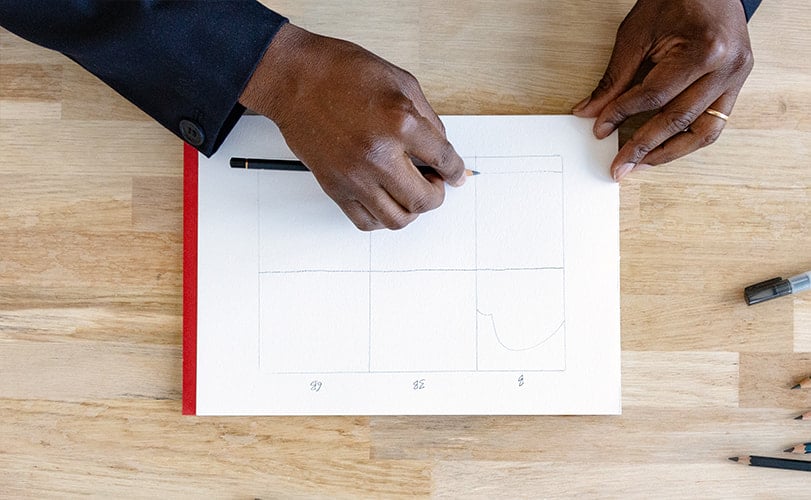
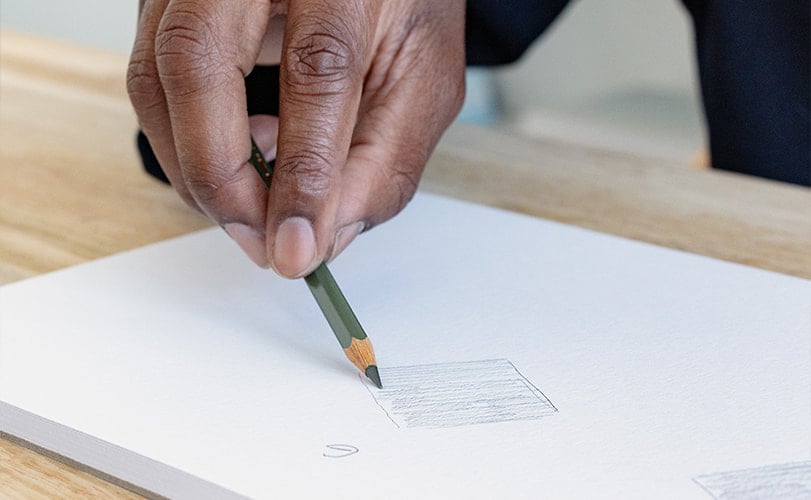
Step 1: Structure your drawing
Start by drawing a rectangle using the Technalo B pencil, which offers precision and sharpness. If you wish, you can also opt for the 3B or 6B, offering a darker and more intense line.
Draw a horizontal line in the middle of the rectangle, then add two vertical lines to divide your space into six equal squares. This structure will serve as the basis for your creation.
💡 The “B” in 3B and 6B stands for “black”. The higher the number, the more intense the black.
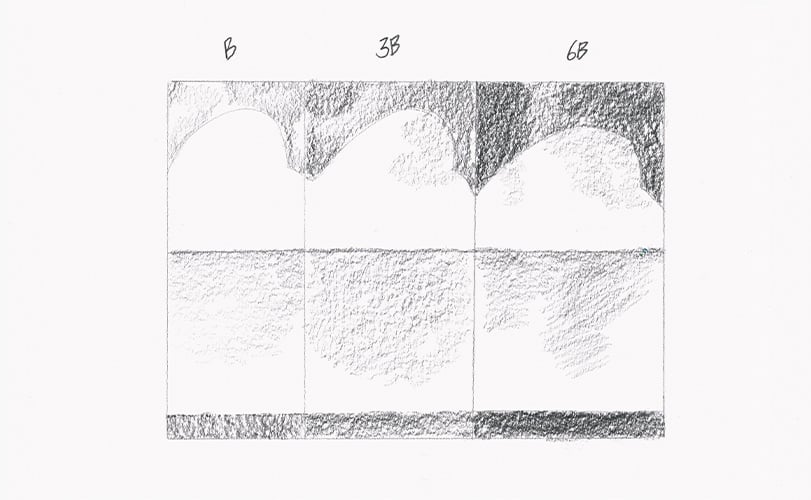
Step 2: Produce a light sketch
Starting from the horizon line and moving from left to right, delicately draw the outline of a cloud. Your line must encompass the entire rectangle without encumbering the drawing.
In each of the upper squares, draw a light outline of a cloud then gently sketch in the ground.
Step 3: Vary the intensities
Explore the textures of the Technalo B, 3B and 6B by adding detail in the sky around the cloud and on the ground.
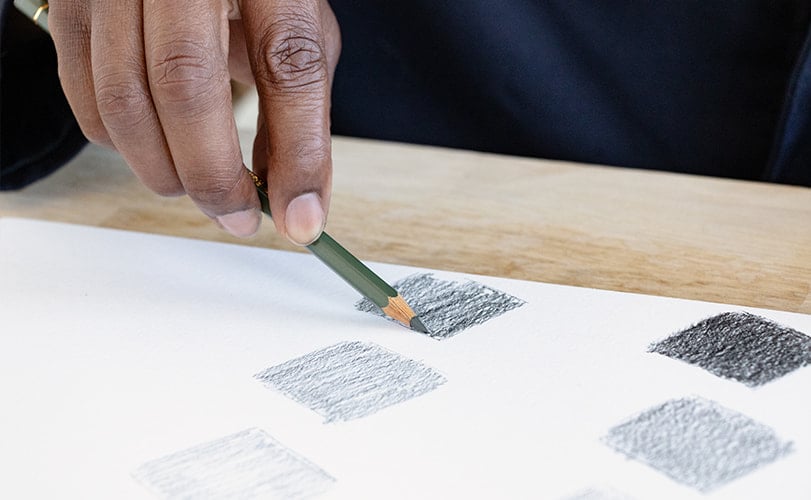
💡 JP Kalonji’s tip: hold your pencil with the thumb, index finger and middle finger positioned horizontally. This will avoid producing lines that are too marked and will enable you to play with colour planes and shadows in order to create depth.

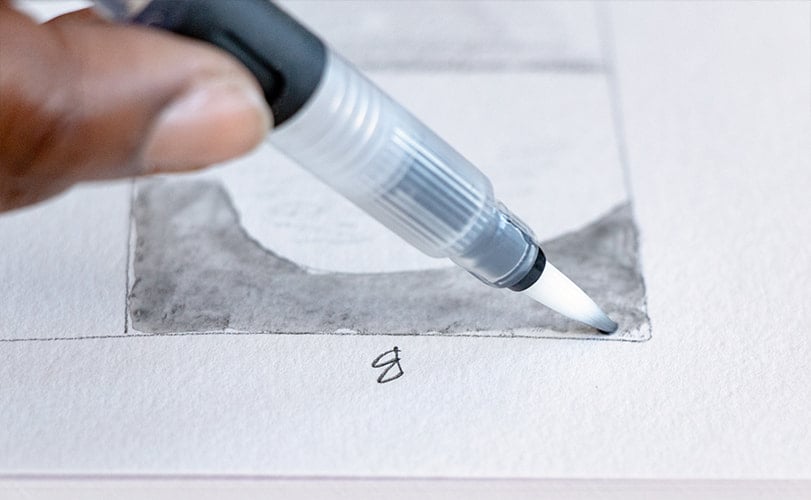
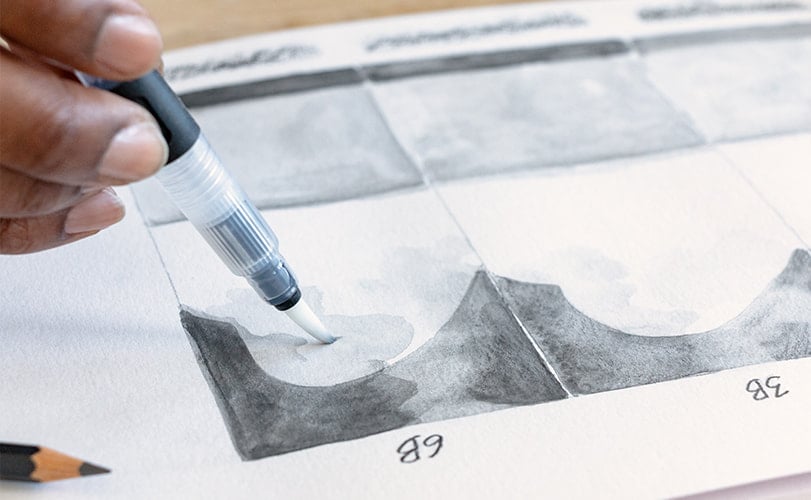
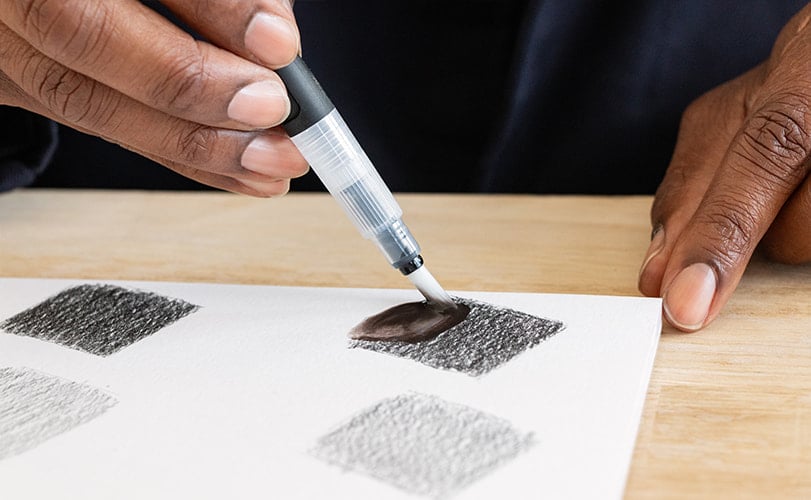
Step 4: Watercolour your drawing
With a brush soaked in water, delicately brush the pencil lines by making light and regular circular movements. The aim is to make the pencil lines disappear using the brush to produce a uniform result.
When mixed with the graphite, the water creates gradations producing the illusion of light and shadow, giving the material relief and depth.
Don’t be afraid to use plenty of water in order to draw the soluble pigment out of the graphite. Transform your drawing into a watercolour be making circular movements. The more moist your brush, the more the pigments will be diluted, creating a subtler shade.
TECHNALO RGB – DRY AND WATERCOLOUR TECHNIQUES
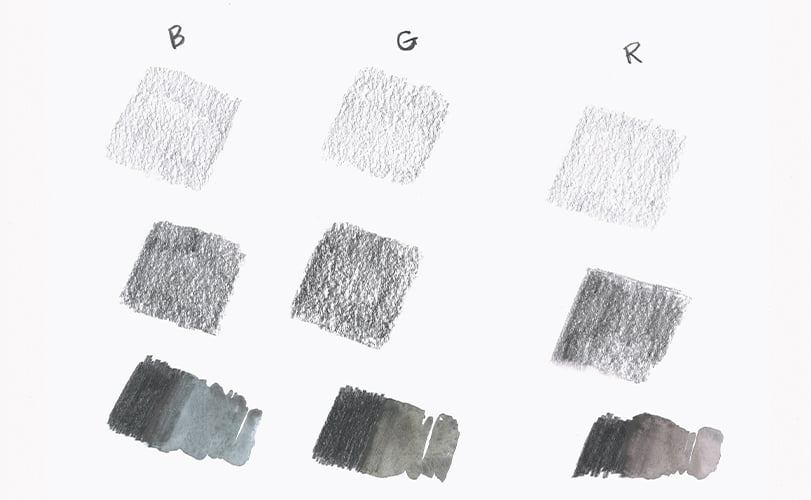
Creating different RGB shades
Discover the power of graphite and watercolour with Technalo RGB pencils.
Each pencil in the range is designed to offer a specific colour – red, green or blue – which, once moist, transforms into an explosion of bright, intense colours.
Train with each RGB pencil separately.
💡 R = red, G= green, B= blue

Step 1: Create delicate nuances
Begin by producing a light line. Repeat this, but this time applying more pressure to the pencil.
Later, you will find this useful to create contrasts in your drawing.
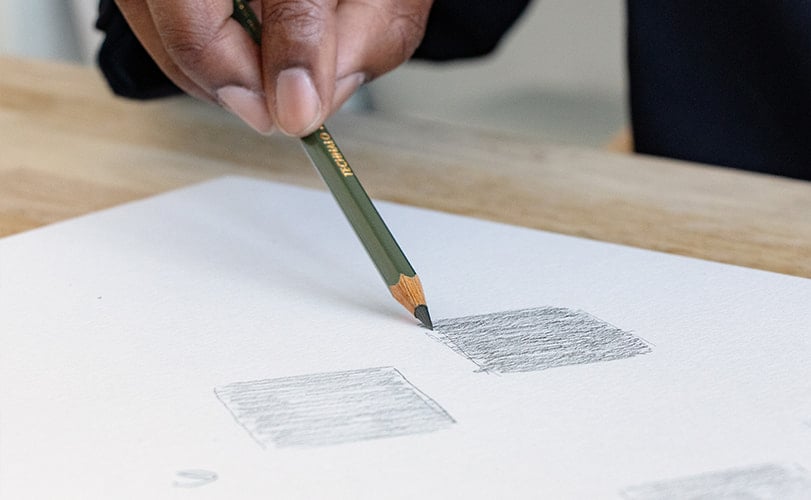
Step 2: Increase opacity
Repeat the operation a third time, further increasing the pressure to obtain a more intense colour.
Step 3: Dilute the graphite
Then, with a wet brush, very delicately watercolour the drawing using circles to dilute the pigment.
You will notice the subtle difference in shade between the R, G and B pencils as well as the different results of the dry and watercolour applications.
💡 JP Kalonji’s tip: hold your pencil with the thumb, index finger and middle finger positioned horizontally. This will avoid producing lines that are too marked and will enable you to play with colour planes and shadows in order to create depth.
MIRROR EFFECT + USE OF THE ERASER – TECHNALO RGB (blue)
Creating reflections
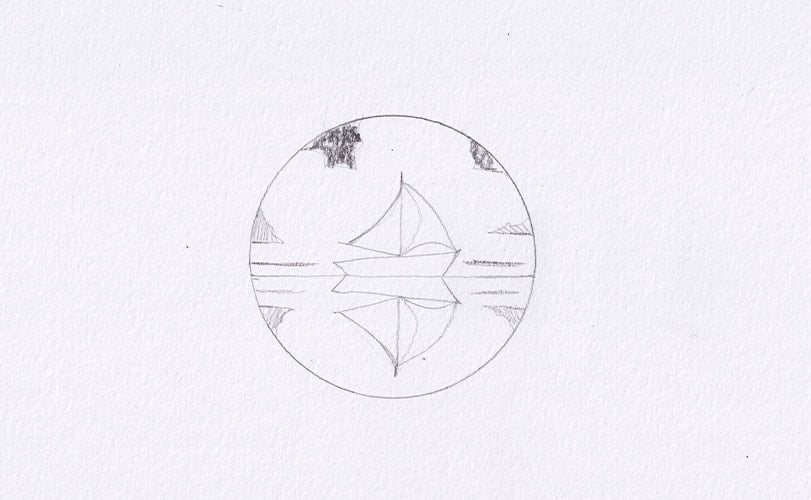
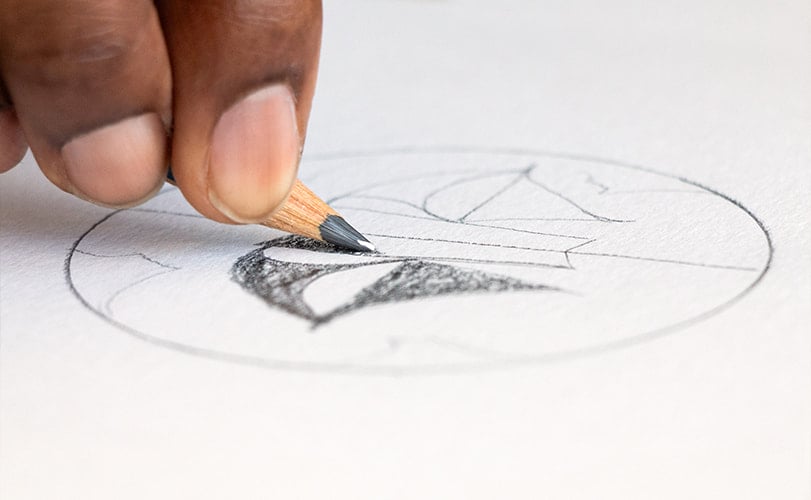
Step 1: Sketch with a pencil
Use a cup to draw a circle on your paper, then add a horizontal line in the middle, dividing the circle into two.
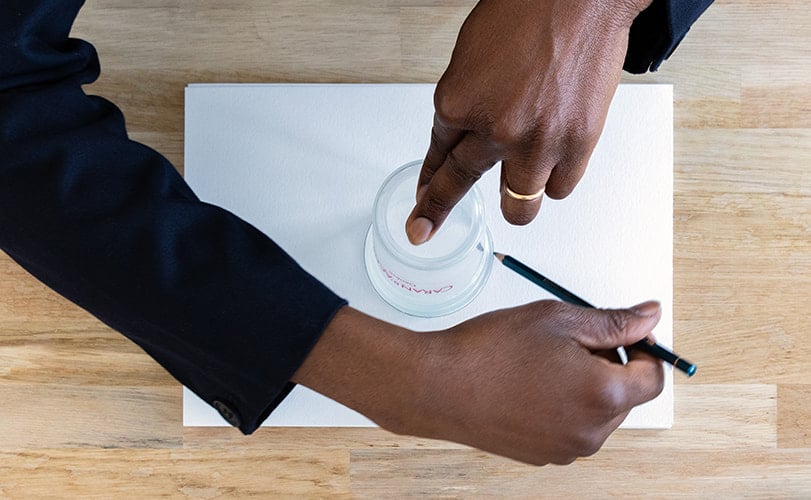
Inside the upper section, draw the outline of a boat. Think of a simple shape such as a paper boat.
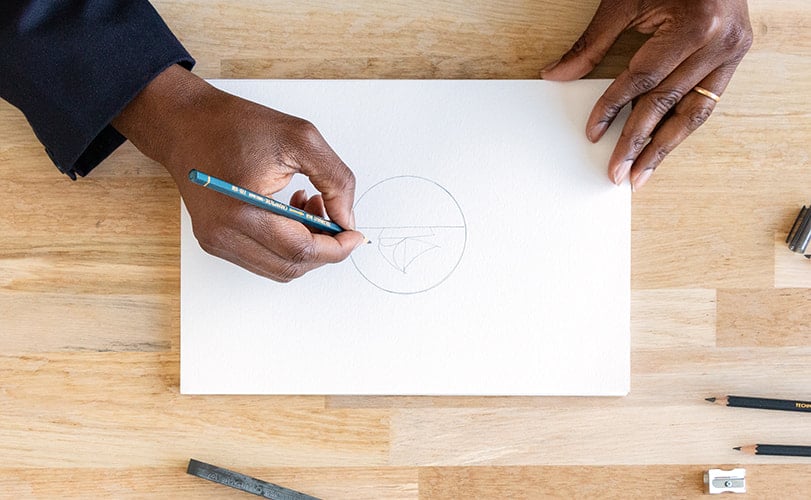
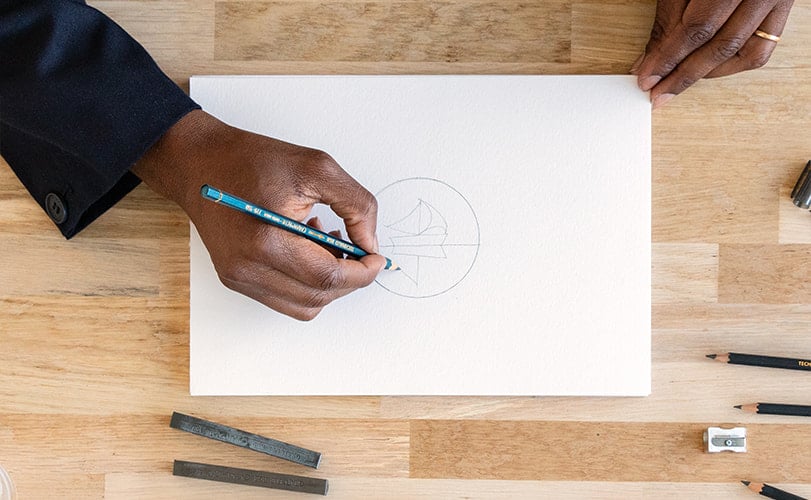
To create a mirror effect, turn your sheet around and draw the boat again following the same outline, but upside down as if it were reflected in the water.
If you choose to add clouds, keep them simple and symmetrical in relation to the centre line.
If you choose to add clouds, keep them simple and symmetrical in relation to the centre line.
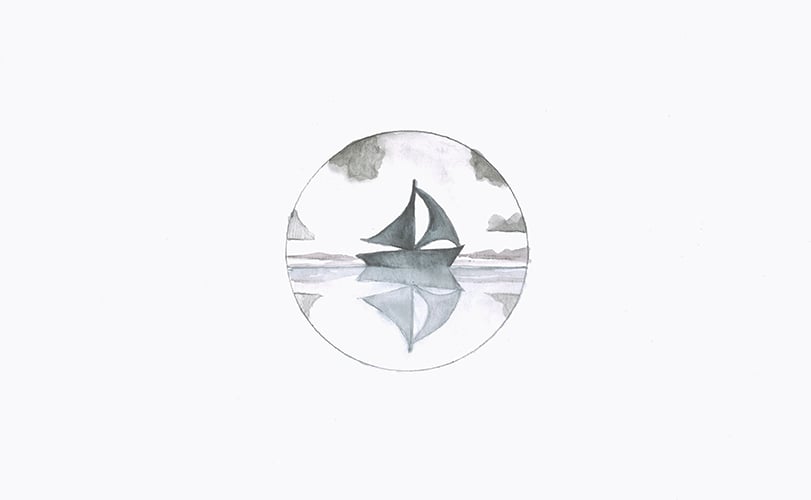
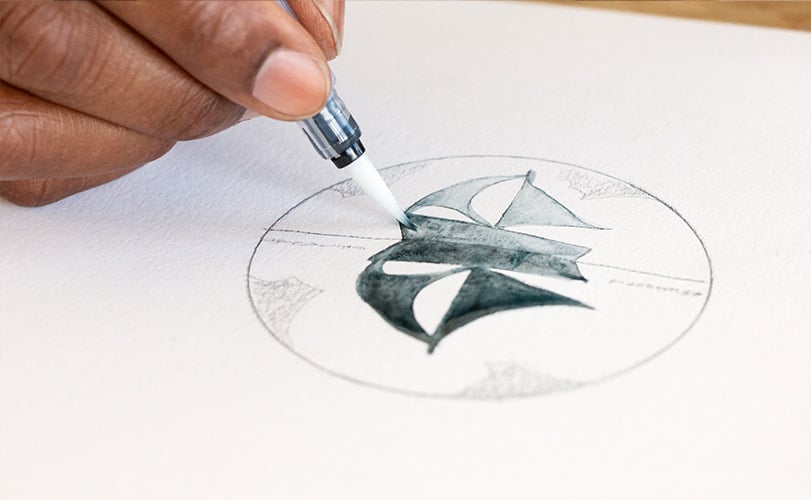
Step 2: Colour and soak
Colour the boat in the upper part of the circle using a Technalo R, G or B, stopping at the horizon line.
You can also add clouds to create a sky.
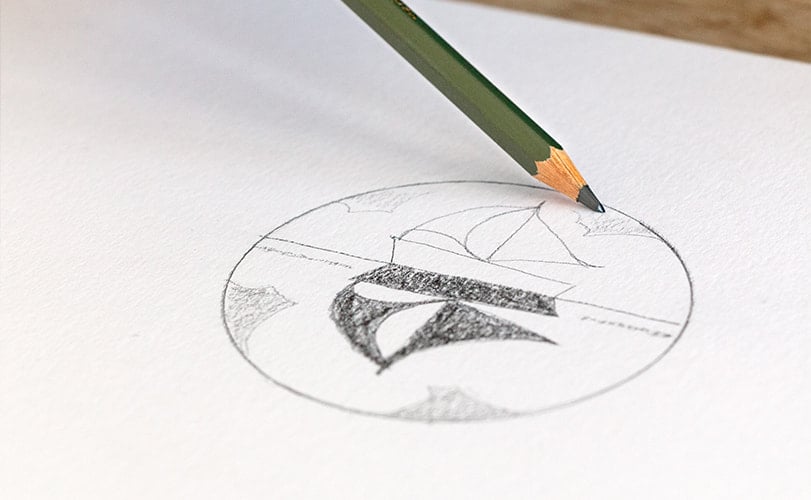
Gently pass a moist brush over the drawing of the boat, spreading the pigment downwards to colour the reflection as well. Begin at the top where the colour is most intense and blur downwards to create a natural gradation effect.

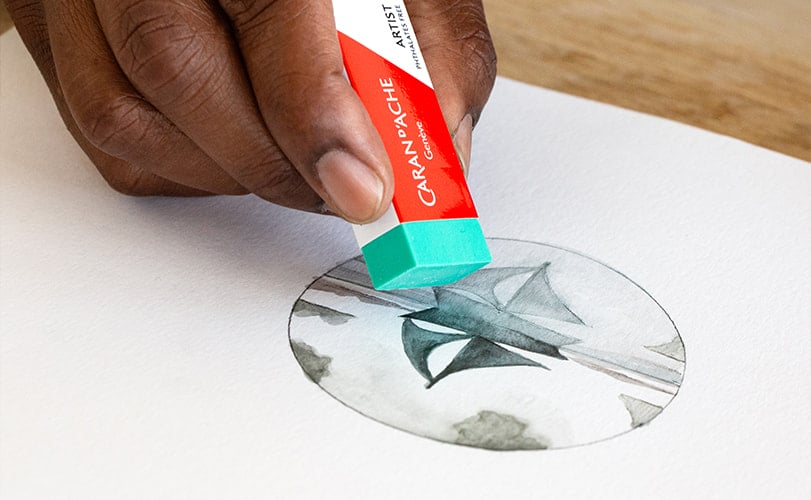
Step 3: Create a reflection
Let your drawing dry completely so that the pigment becomes fixed and soaks into the paper. The use your Artist eraser to delicately blur the reflection part below the horizon line. This stage will create a hazy effect by reducing the intensity of the reflection to produce a more realistic result. If you have added clouds, apply the same technique to soften their reflection in the water.
💡 For an optimum result, use paper weighing at least 330 g/m², specifically designed for water-based techniques, as this will accentuate the watercolour effect and the depth of the drawing.
GRAFCUBE RGB
Creating a gradation
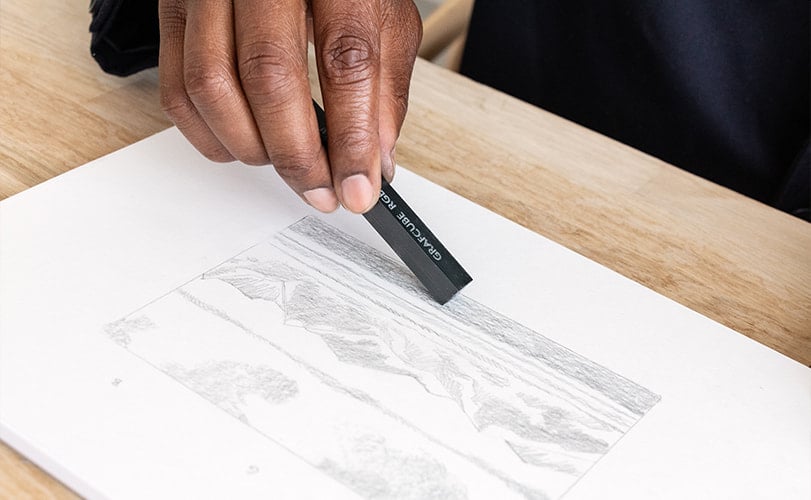
The Grafcube from Caran d'Ache is a graphite tool characterised by its cubic shape, facilitating a huge variety of drawing techniques. Be it to create large colour planes of texture or to add details, the Grafcube offers unrivalled versatility. Also available in RGB format, it offers a rich tone and outstanding colour intensities, allowing you to develop a wide range of shadow and gradation effects.
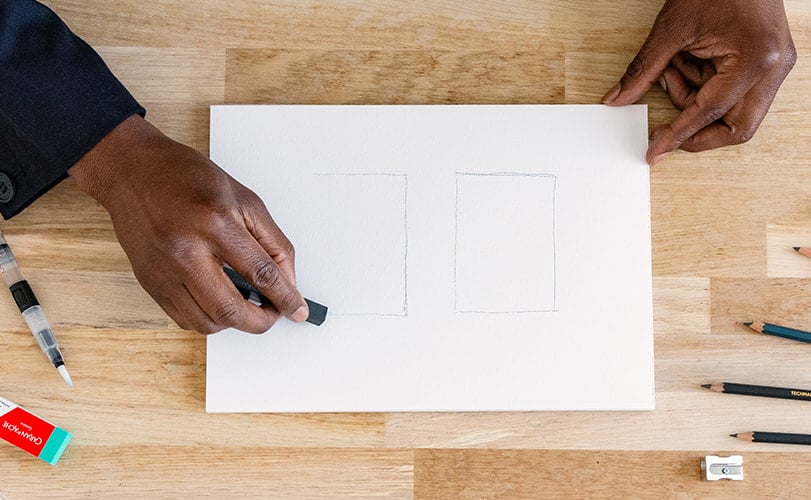
Step 1: Preparation of the shape
Take the Grafcube between the thumb and index finger, as if you were using tweezers, in order to have a better grip
Tilt the Grafcube slightly to find the best angle, then create two rectangles or squares depending on your preference. This first step will help you control the line and obtain the desired shapes with precision.
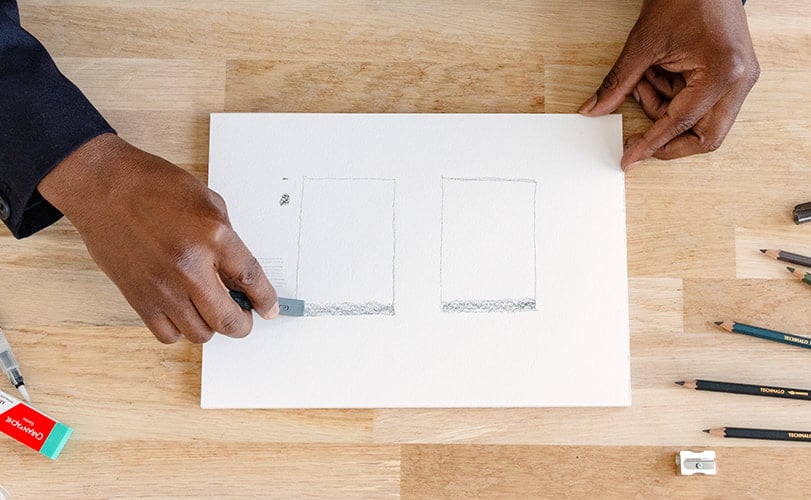
Step 2: Demarcation of the interior space
Inside each shape that you have created, draw a horizontal line as wide as the Grafcube placed on the paper. This line will serve as a marker and a limit when applying the water and pigment later, thereby structuring your composition.
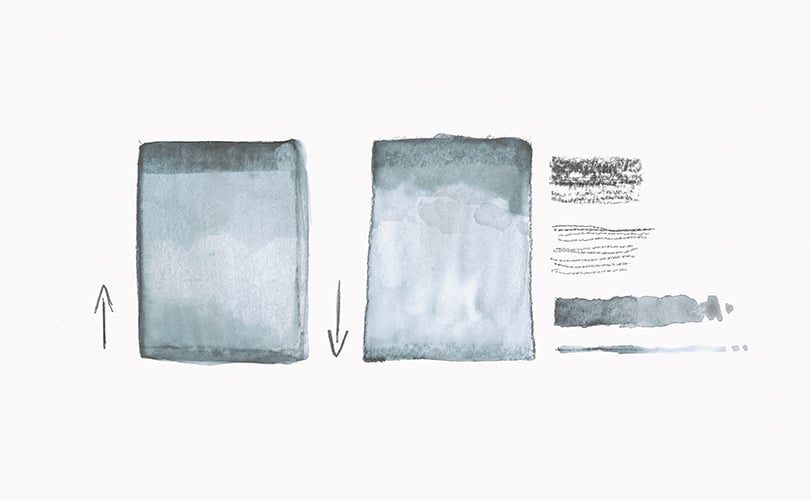
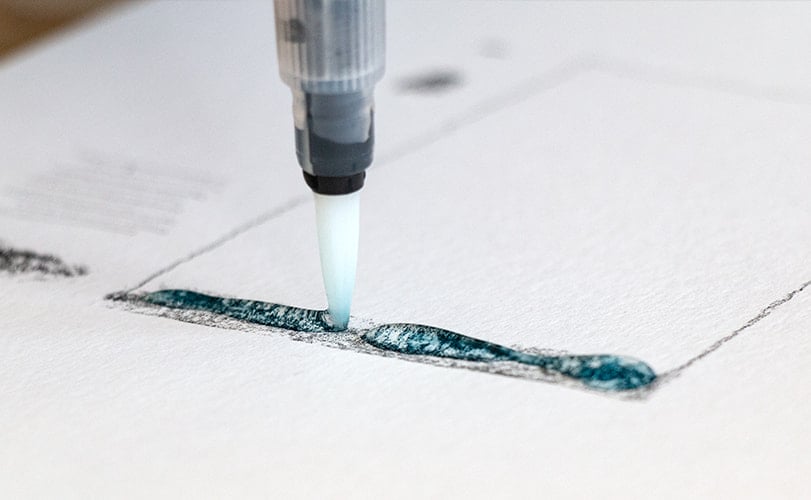
Step 3: Downward application of the pigment
Moisten your brush well.
Begin at the top of the first shape and make a delicate zigzag movement, applying more pressure on the darkest part. The pigment must interact with the water, creating a soluble effect that is visually striking. Continue this application until you reach the lower limit of the shape, without going over the line and maintaining plenty of water to ensure the pigment is spread evenly and equally.
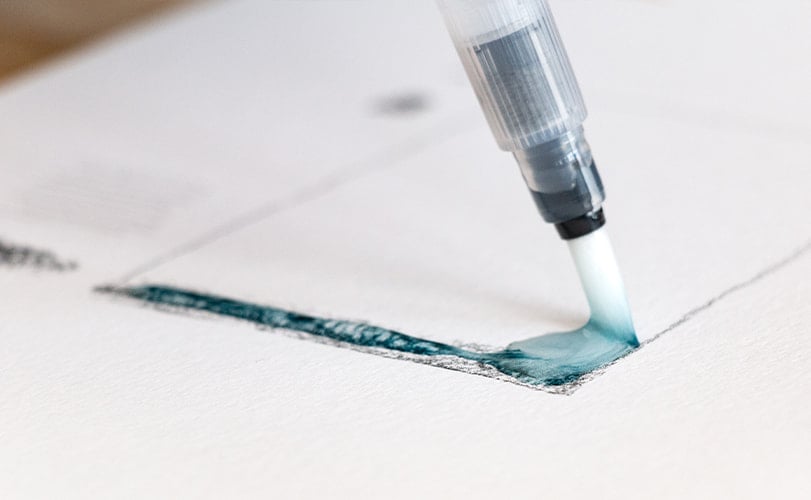
Step 4: Upward application of the pigment
For the second rectangle/square, the process is similar, but starting at the bottom and moving up.
Make sure that your brush is always very moist. Start at the bottom and move upwards in a zigzag movement until you reach the dark horizontal line you drew previously. Once the water encounters the pigment, use a technique of small, delicate circles to blend the water and the pigment. It is important to maintain an upward direction to ensure consistency and visual aesthetics.

USE OF THE FULL SET – LANDSCAPE
A – FOCUS on creating relief by means of watercolour and negatives spaces
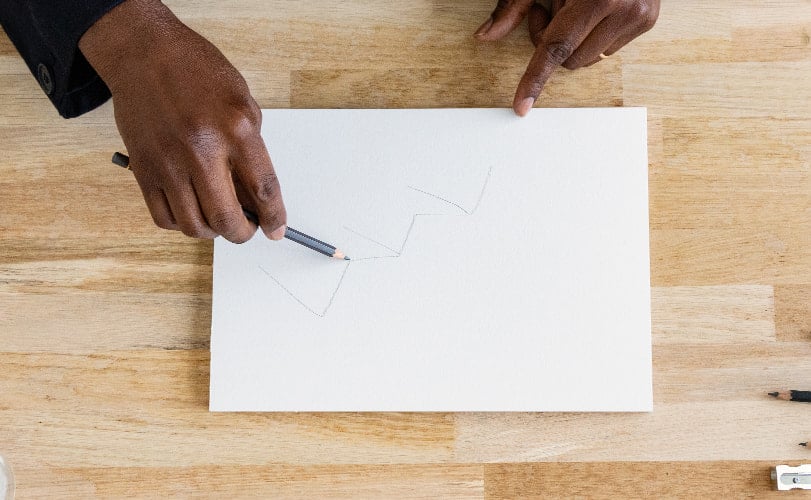
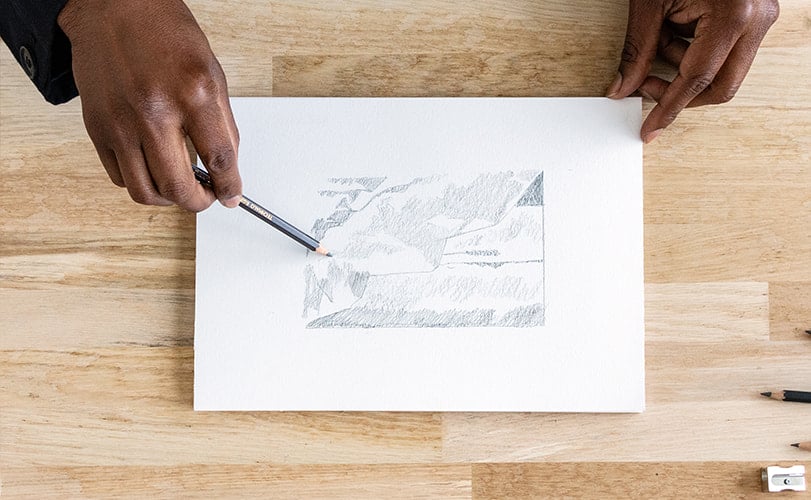
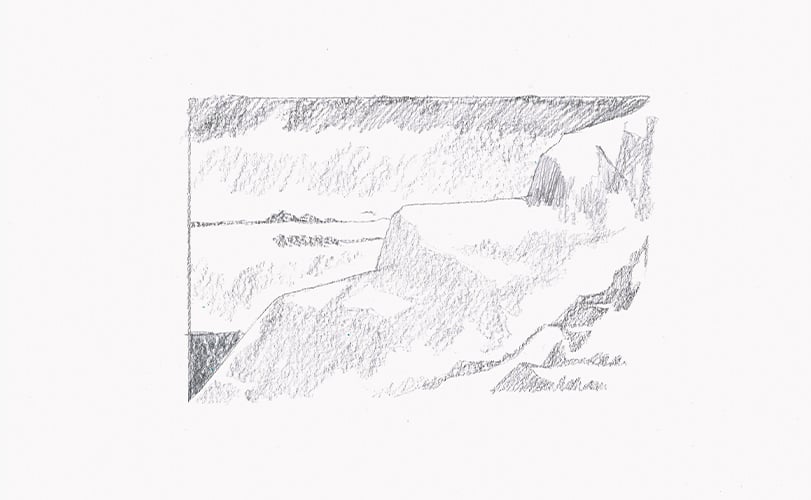
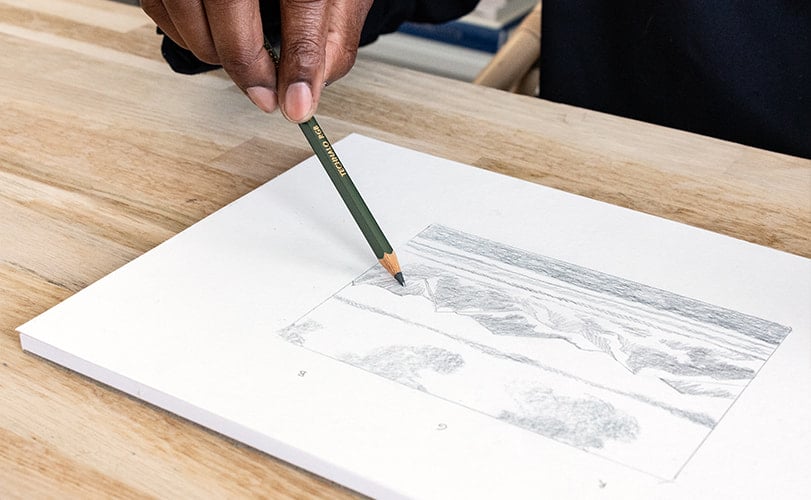
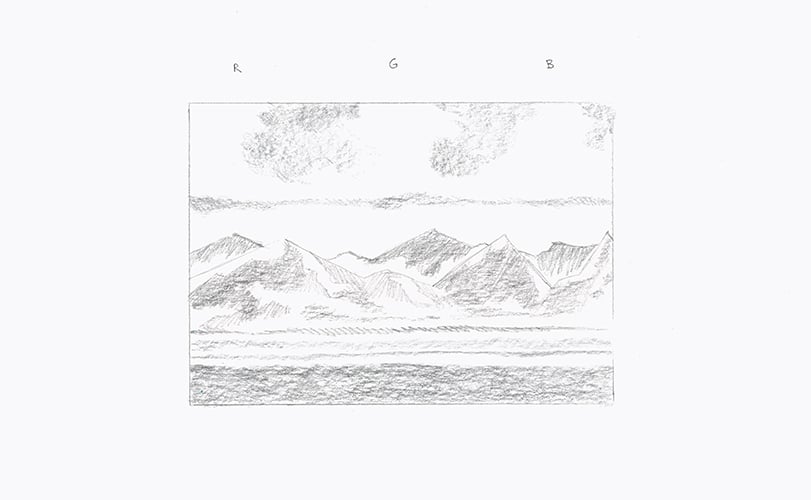
Step 1: Structure your composition
Begin by sketching a simplified landscape, playing with the geometric shapes of mountainous terrain. Incorporate a horizon line to separate the sky from the mountains.
💡 JP Kalonji’s tip: To create geometric shapes, imitate stairs
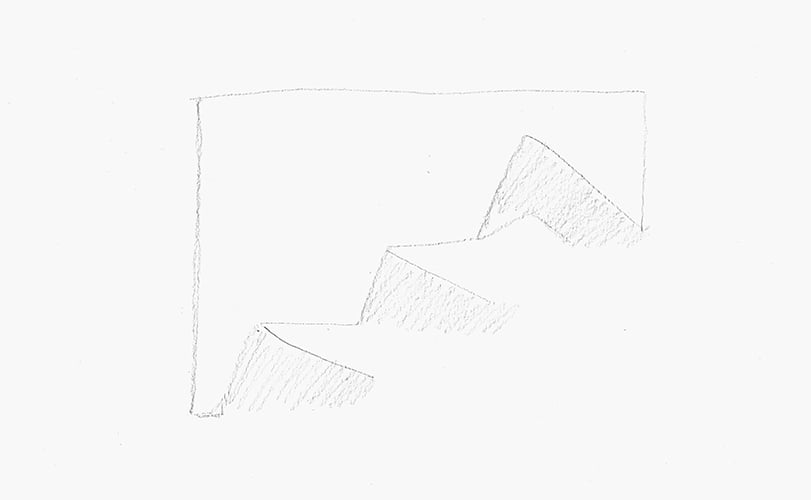
Step 2: Add shadows with technique
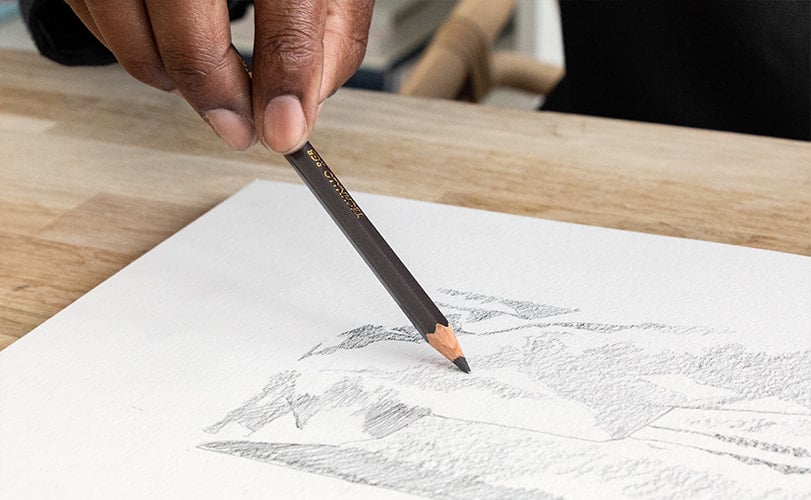
Use your pencil horizontally, holding it between the thumb and index finger, to create shadow zones on your landscape. This method enables you to play with the intensity of the graphite, giving your geometric shapes depth and volume.
Leave negative spaces to create relief.
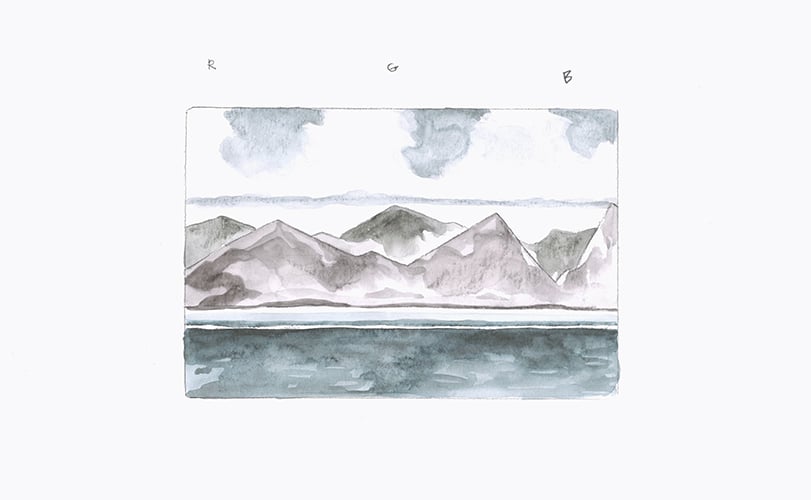
Step 3: Introduce the colour
Choose different pencils in your set to add colour to the different parts of your drawing: for example, use a Technalo G for the sky, a B for the clouds and an R for the mountains.
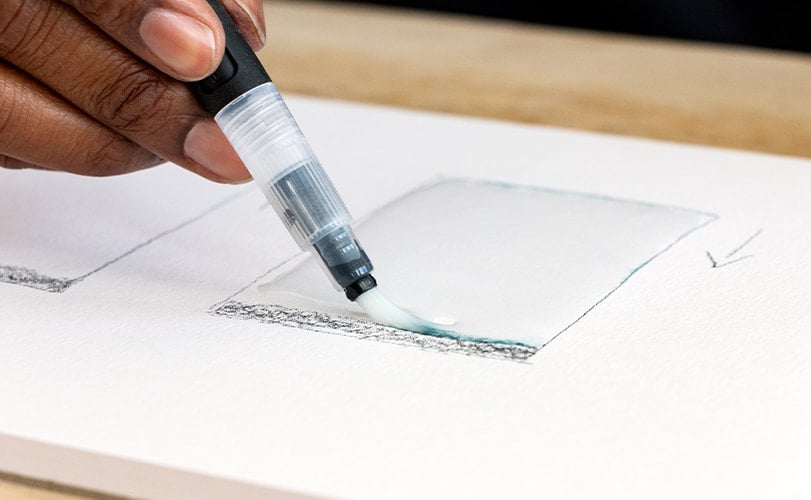
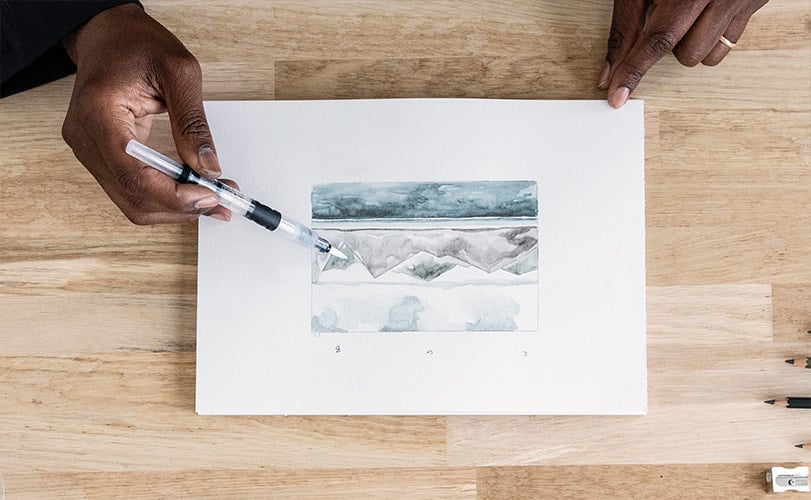
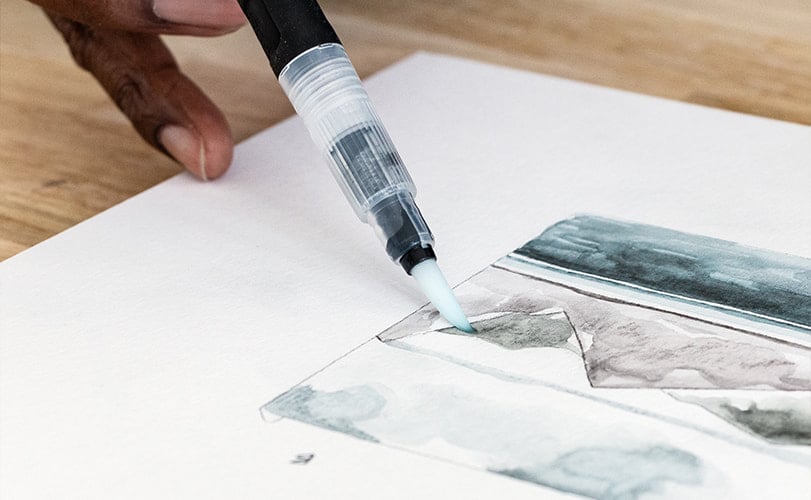
Step 4: Create a dynamic effect with the brush
Brush over the coloured areas using a moist brush, always making small circular movements, to bring your drawing to life. This step allows the pigments to blend slightly, increasing the intensity of the colours and subtly blending the transitions with one another.
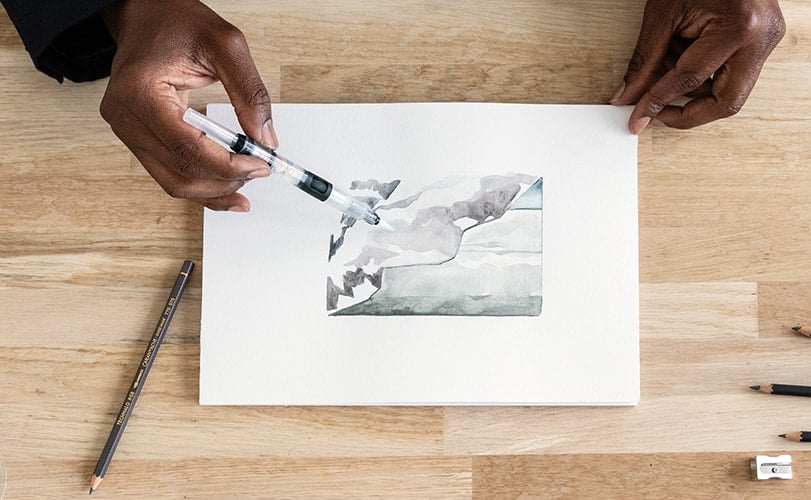
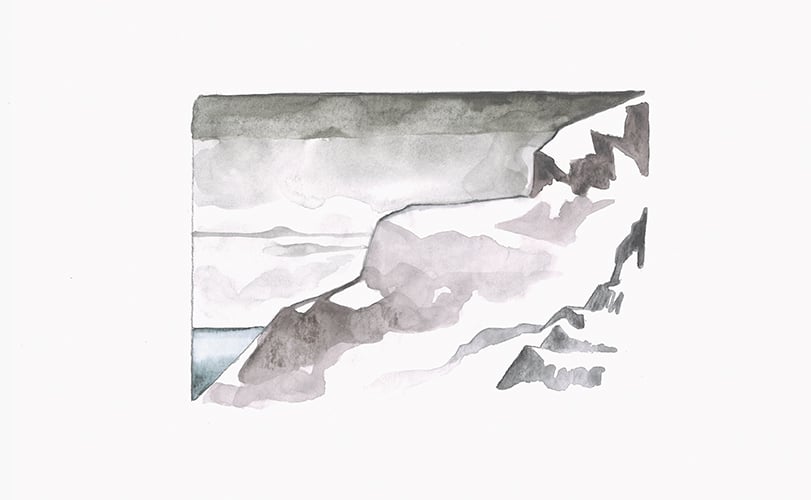
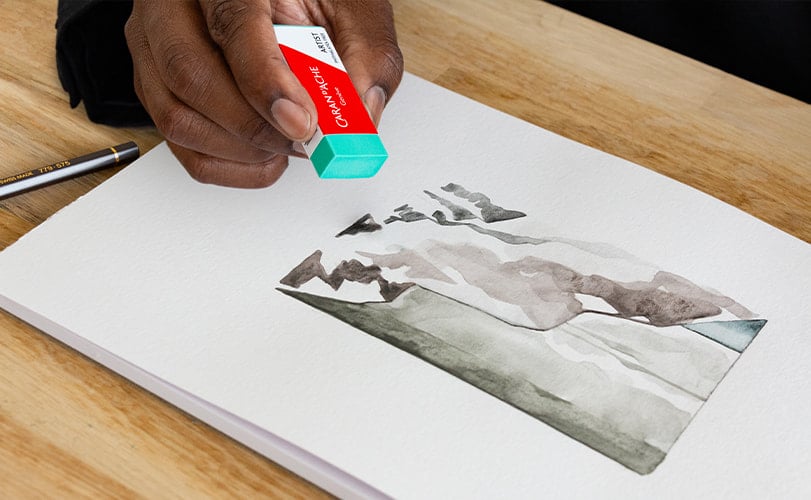
Step 5: Finalise by creating reflections
Use an eraser to create mist and cloud effects.
By delicately erasing certain parts of your drawing, you create brightness and texture, giving the sky and mountains an impression of volume and movement.
B – Creating a landscape with all the products in the set
Now that you have mastered the main techniques of graphite, you can create a landscape with your set of products.
Draw, sketch, shade and colour with precision and creativity, playing on the pressure and angle of the pencil.
Create the outlines of your drawing with a dry pencil.
Don’t hesitate to exert pressure on your pencil to create relief.
Then use your brush, ensuring that it is always very moist in order to spread the pigment well, and make circular movements to blur the line.
Take your time and, most importantly, have fun!
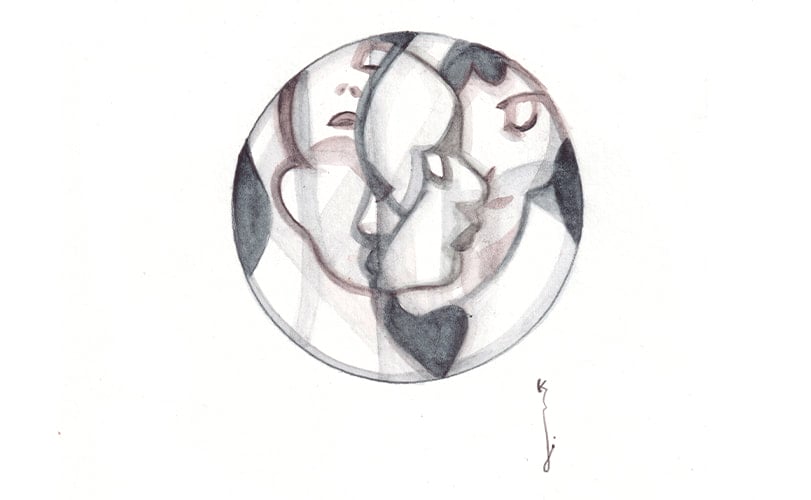
TO GO FURTHER: DRAWING FACES
To go further along your artistic journey, we suggest you discover this creation by JP Kalonji.
If you want to explore the methods and techniques behind this drawing, and perhaps incorporate elements of his style into your own works, you will be able to meet our Technalo ambassador again in an upcoming Creative Class.
Free from CHF 80 purchase.
Possible return under 14 days.
Possible return under 14 days.


Monday to Friday from 10am to 7pm and Saturday from 10am to 5pm.
+41 (0) 848 558 558
(Calls from Switzerland : at local rate. Calls from abroad : at telecom provider’s international rate.)
+41 (0) 848 558 558
(Calls from Switzerland : at local rate. Calls from abroad : at telecom provider’s international rate.)
![]()
Create an account to benefit from all the exclusive advantages of our loyalty program.
Choose your online shop based on which country your order will be sent to
 Switzerland

Let’s stay in touch
Subscribe to our newsletter and benefit from a 10% discount on your next order.