
Our colour and writing products are manufactured in our workshops in Geneva since 1915.
PERSONALISE YOUR PHOTO ALBUM WITH MUSEUM AQUARELLE
The end of summer is coming; your camera is full of beautiful memories! It's time to select your favourite pictures and print them because we have a lovely project for you ! What if this year, you made your photo album a little bit more special ? Follow the advices of Sofia Clara in order to create your unique photo album ! Let's get started!
I used simple borders and patterns around the photos with the Museum Aquarelle pencils and I love how it turned out. It’s a really simple but effective idea to make a photo album look a little bit more special.
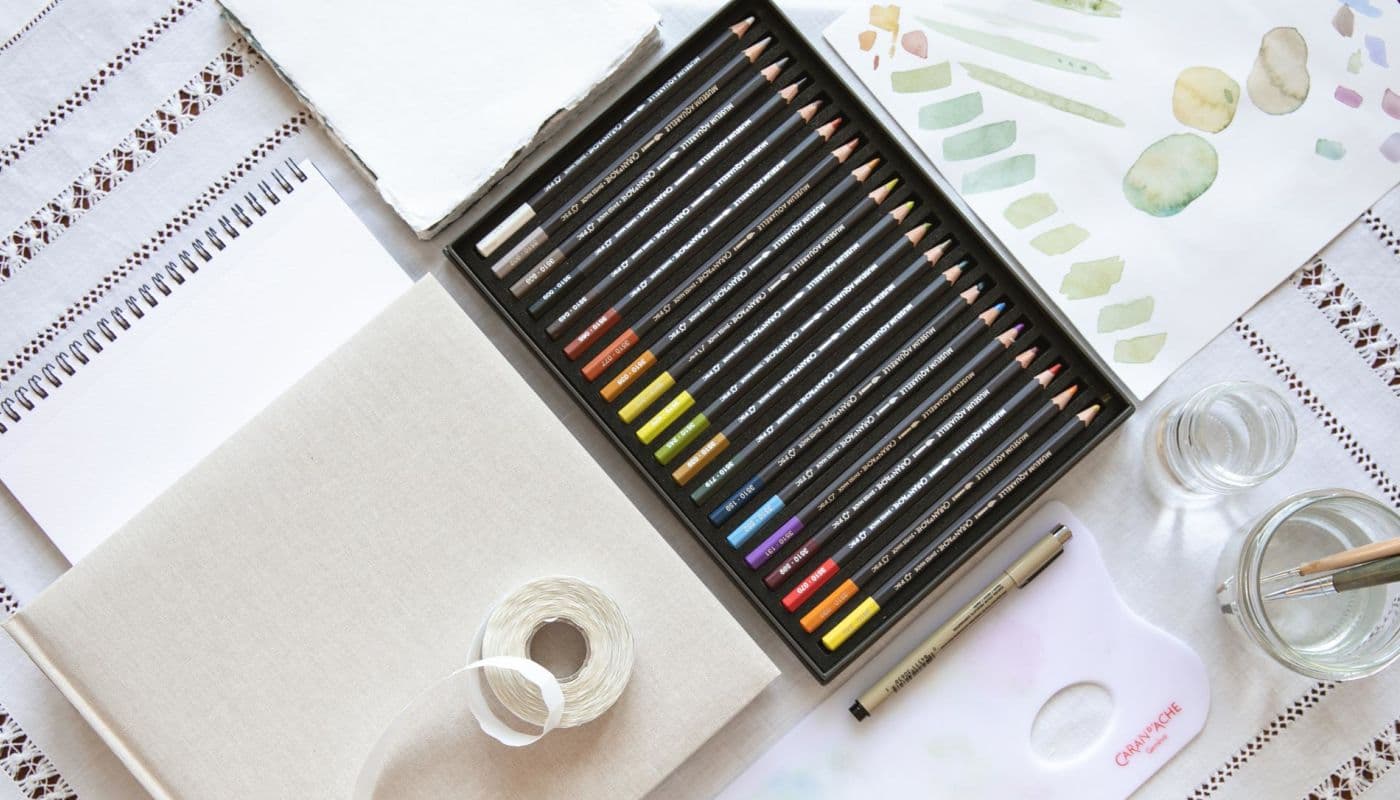
What do you need to make your own watercolour photo album with Museum Aquarelle:
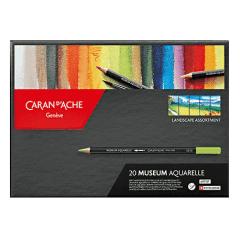
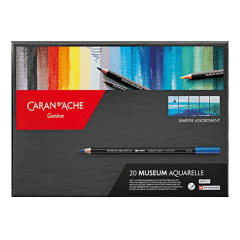
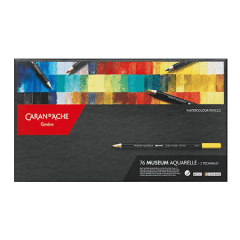
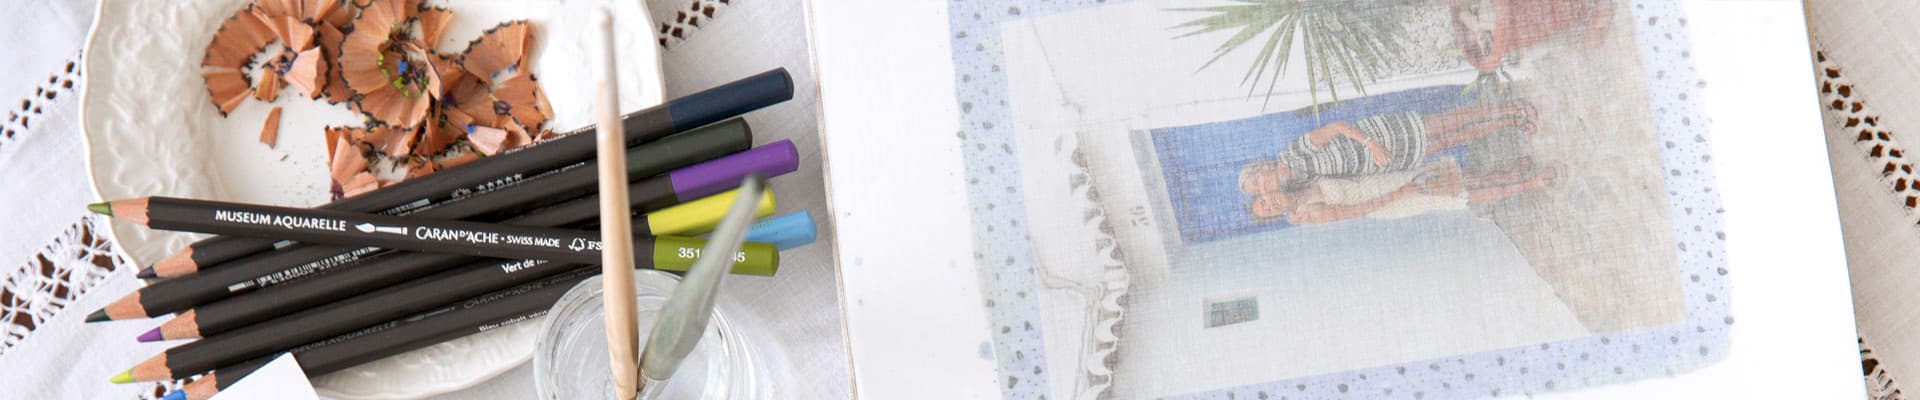
- • Caran d’Ache Museum Aquarelle Collection
- • Caran d’Ache watercolour notepad
- • Caran d’Ache watercolour palette
- • Watercolour paint brushes
- • Printed photos from last year, a big life event or a recent trip
- • Cards, notes, train tickets or any other memories you’ve kept and want to include along with the photos
- • A photo album
- • Photo stickers or photo mounting corners
1.jpg)
Let’s go! Follow Sofia Clara Tips & tricks
- 1. Sort your photos well beforehand and make sure to slot in any special birthday cards, notes or paper memories that you want to include in the right place.
- 2. Make sure to take a page out of your album to see how the paper reacts to the watercolours you’ll be using before you start.
- 3. Pick a colour palette for the album as a whole to make it feel a little bit more uniform. I used greens, browns and blues mainly.
- 4. The key to really beautiful colours is to mix your own so have a play around with all the beautiful colours in the collection.
- 5. Make sure to leave each page to dry before adding the ink or else it might run.
- 6. Don’t worry about it being too perfect. There will be pages you like more than others but that’s part of the fun.
Prepare a little work station. You’ll need two pots of clean tap water for your watercolours and a few pieces of scrap paper to test colours on.
1.jpg)
Step 1: Have a play around with the pencils on the watercolour palette. I started by using three blue tone crayons on the palette to get a soft blue colour.
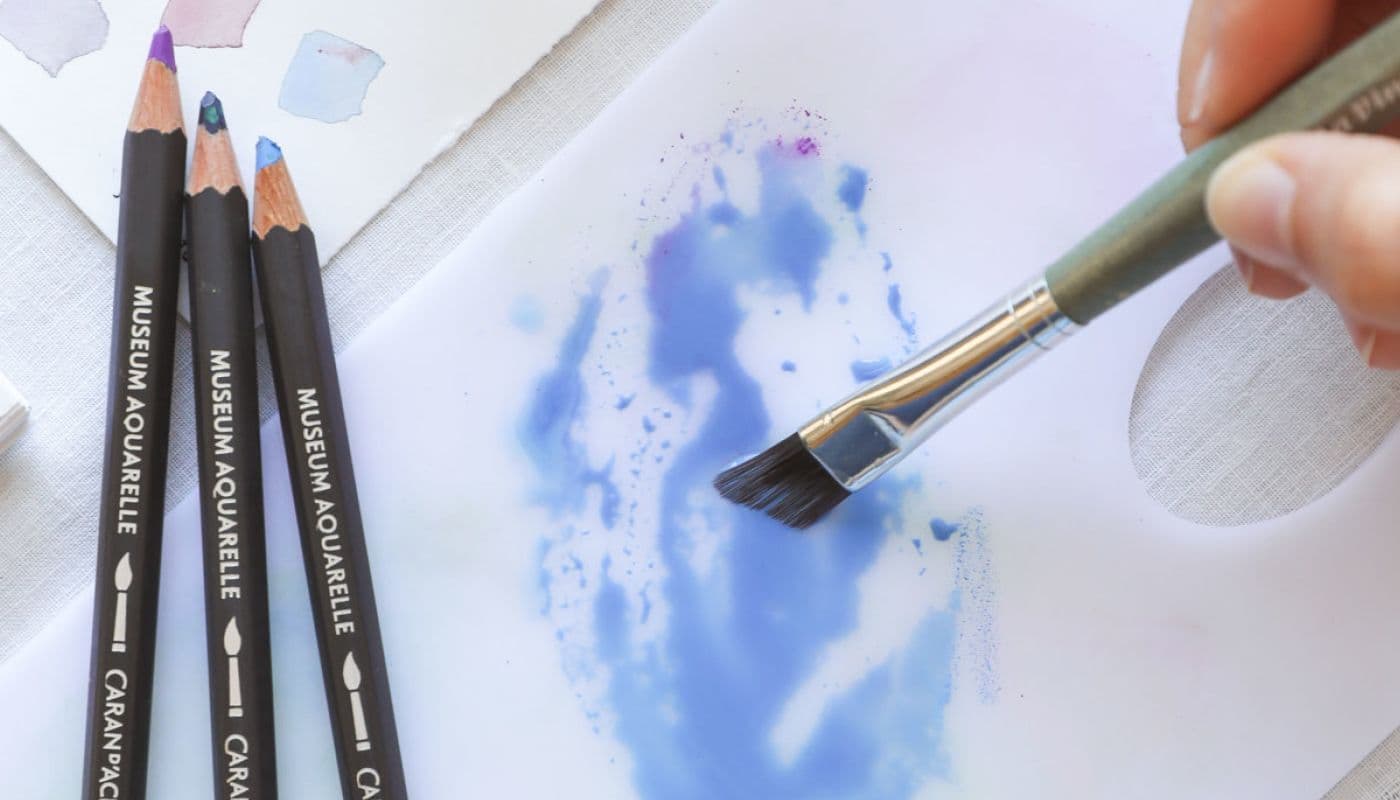
Use water and a brush to mix together your colours. Adjust as required using more colour and use more water for a softer colour

Step 2: To test out a few patterns on the paper, remove a page from the back of the album and see how it reacts to the water. Then when you are ready, it is time to pick a photo.
.jpg)
Use a pencil to lightly mark out the four corners of where you want to place your photo. This will ensure your background surrounds the photo.
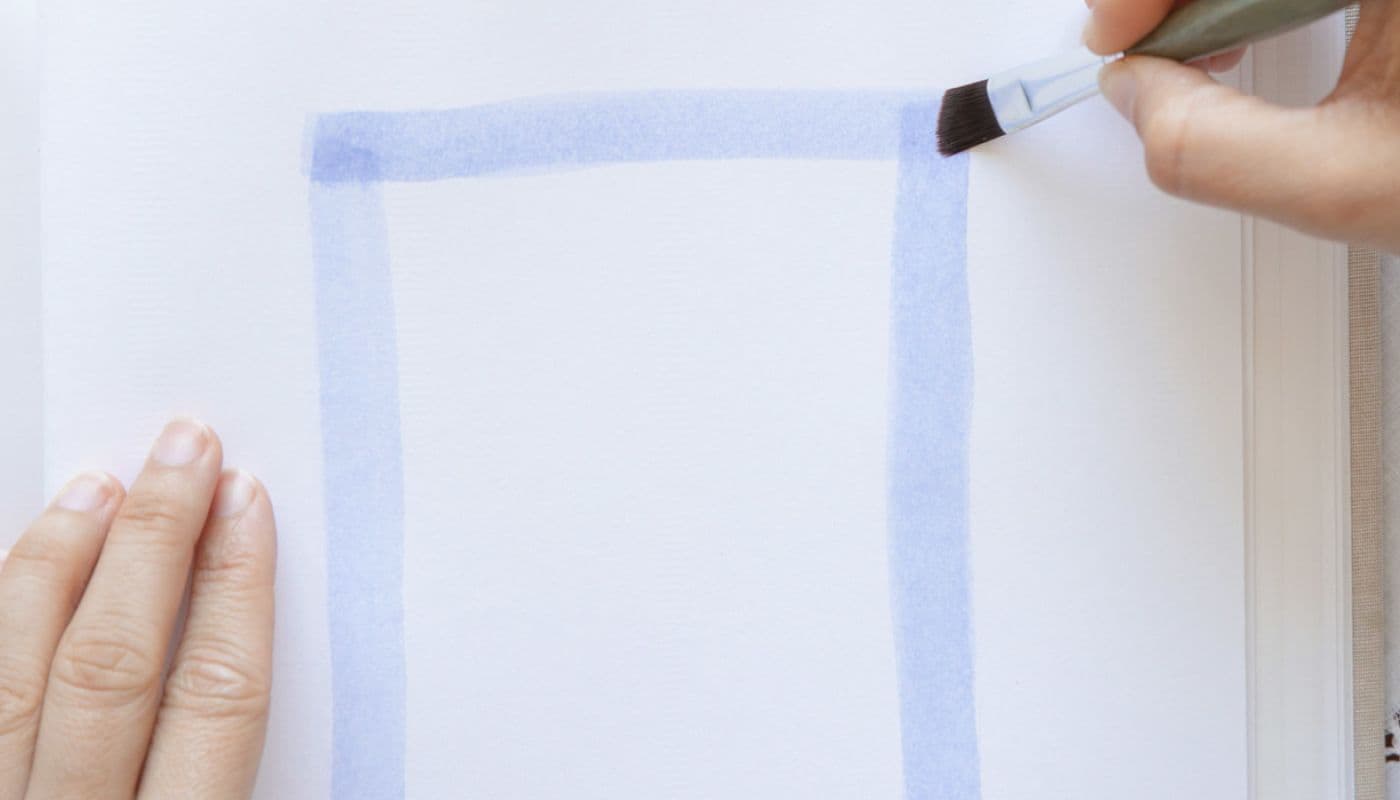
Paint a watercolour frame connecting the dots you just made. Use plenty of water for a soft look and layer the colour on to make it look a little more interesting.
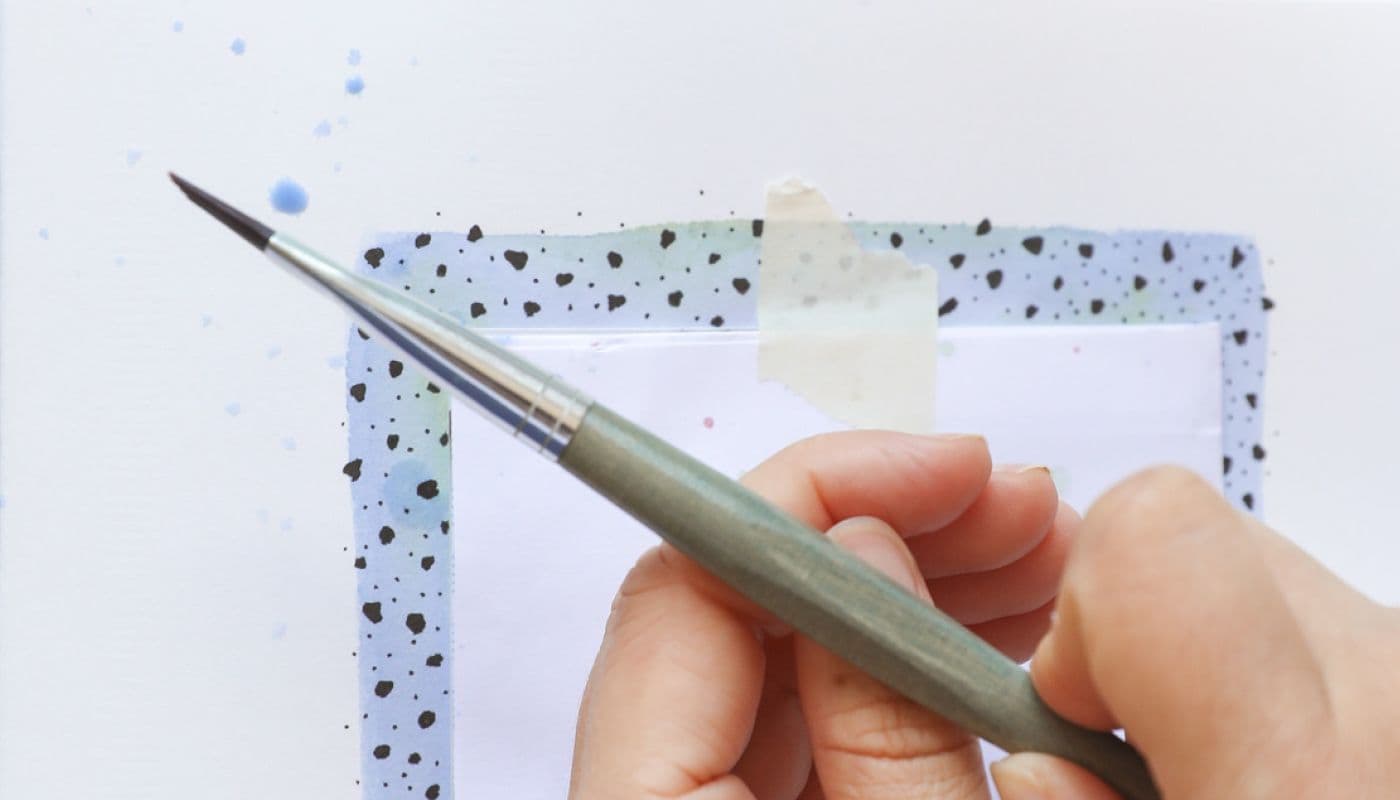
Step 3: Make sure to mix in other colours and add darker spots to add depth to the frame. Once it is dry, stick on your photo using photo stickers. Use a fine ink liner or brush to add an ink pattern over the top of your border. She uses small blobs and dots.
.jpg)
Don’t worry about it being too perfect. Cover your photo and the adjacent page with a few pieces of scrap to protect them both for the next step. Add small splatters of watercolour paint by gently knocking your paint brush on the back of your hand. Leave your page to dry before moving on to the next or put a protective piece of paper in between.
Thanks to Sofia Clara for sharing with us her creative ideas to create a unique photo album.
Museum Aquarelle is the perfect pencil to create your own photo album: thanks to its water-soluble, soft, smooth and strong lead, as well as its ultra-high pigment concentration, the Museum Aquarelle range allows you to give free rein to your creativity. Now it's your turn to customize your photo album.
Share with us your creations on Facebook and Instagram using @CarandAche #CarandAche
Free from 199$ purchase.
Possible return under 14 days.
Possible return under 14 days.


![]()
Create an account to benefit from all the exclusive advantages of our loyalty program.
Choose your online shop based on which country your order will be sent to
 Deutschland
 Austria
 Belgium
 United States
 France
 Italy
Italy
 Japan
Japan
 Netherlands
 United Kingdom
 Switzerland

Let’s stay in touch
Subscribe to our newsletter and benefit from a 10% discount on your next order.