
Our colour and writing products are manufactured in our workshops in Geneva since 1915.

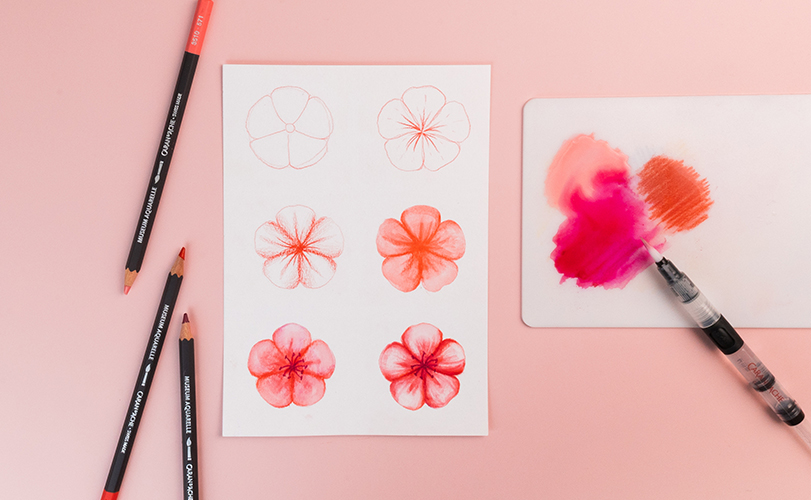
HOW TO PAINT FLOWERS IN A WATERCOLOUR STYLE?
In watercolour, flowers are among the themes that people love to paint again and again. Their varied shapes and subtle nuances make them an ideal playground for learning how to master watercolour techniques, gradients and colour layering.
With Caran d’Ache water-soluble colour pencils, you can draw, colour, then reveal the full softness of watercolour with just a few drops of water.
Discover our step-by-step guide to drawing and painting watercolour flowers. Materials, basic techniques and practical tips: you’ll find everything you need to bring your first floral compositions to life.
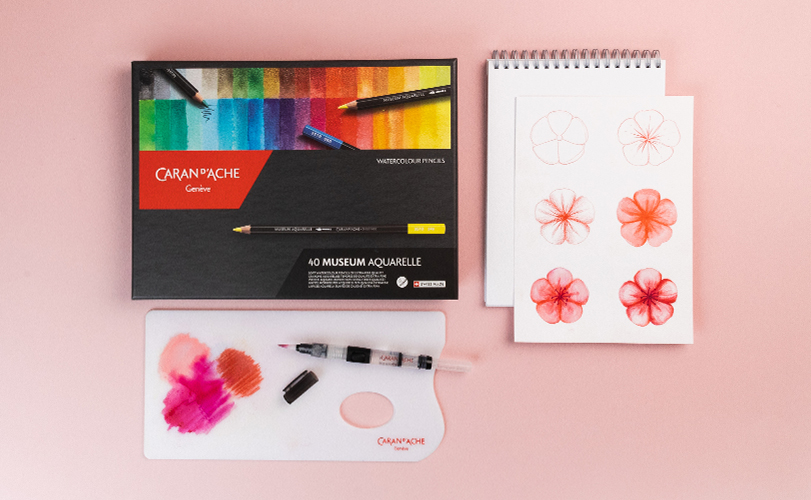
SUPPLIES YOU’LL NEED TO PAINT WATERCOLOUR FLOWERS
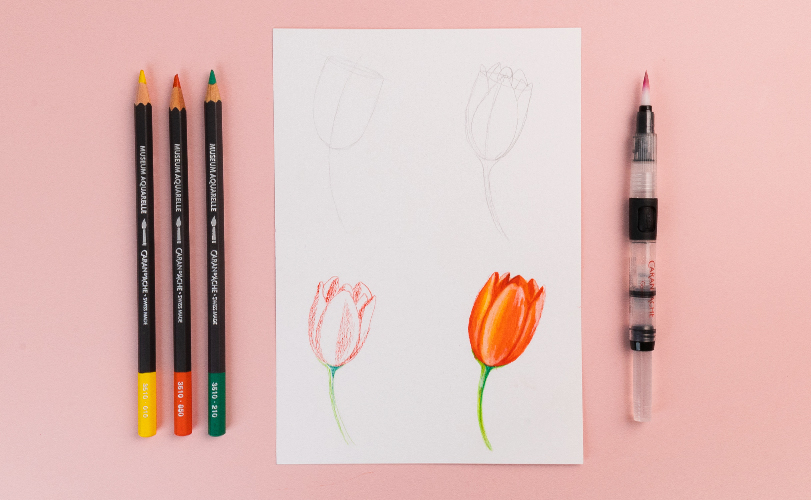
• Museum Aquarelle coloured pencils
• Watercolour paper (fine or medium grain)
• Water brush or traditional paintbrush
• Watercolour palette
• Some water
TUTORIAL FOR BEIGINNERS: DRAWING AND PAINTING WATERCOLOUR FLOWERS
Garden flowers, a bouquet of tulips, a poppy field or a floral landscape… Choose the flower that inspires you and let the colours and shapes guide you.
In this tutorial, we will show you, step-by-step, how to draw and paint a watercolour-style anemone, using water-soluble colour pencils.
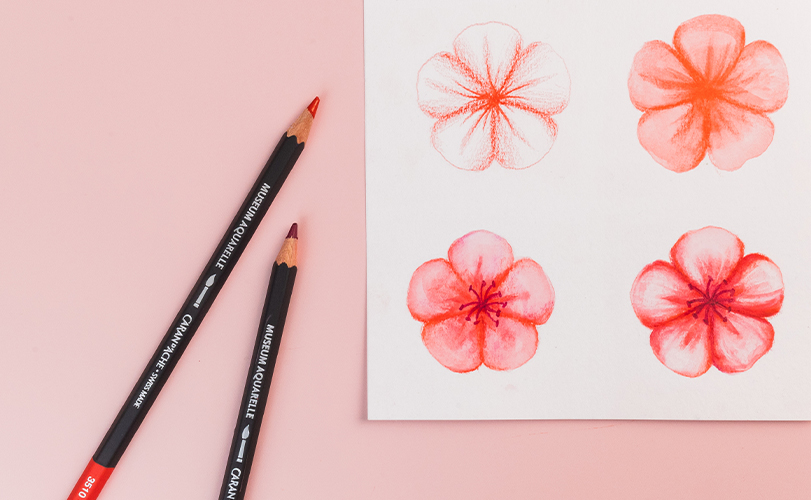
Step 1: Sketch the flower and identify light areas
Start by sketching your flower directly with a light-coloured water-soluble pencil. This first step establishes the overall structure: petal shapes, the centre of the flower, the stem or leaves.
Use the lightest shades for this initial sketch. They will serve as the foundation of your composition and define the areas of light. For example:
• a pale pink to sketch the petals;
• a light green for the centre or leaves;
• a soft yellow for the stamens.
The goal here is to define volumes and the main colour zones.
Step 2: Apply the first colours
Once your sketch is complete, apply the first layers of colour using your water-soluble pencils.
Always work from light to dark. This approach preserves luminosity and gives you better control over colour intensity.
Lightly apply colour to different areas:
• light tones on the petals;
• nuances in the centre of the flower;
• initial touches on leaves and stem.
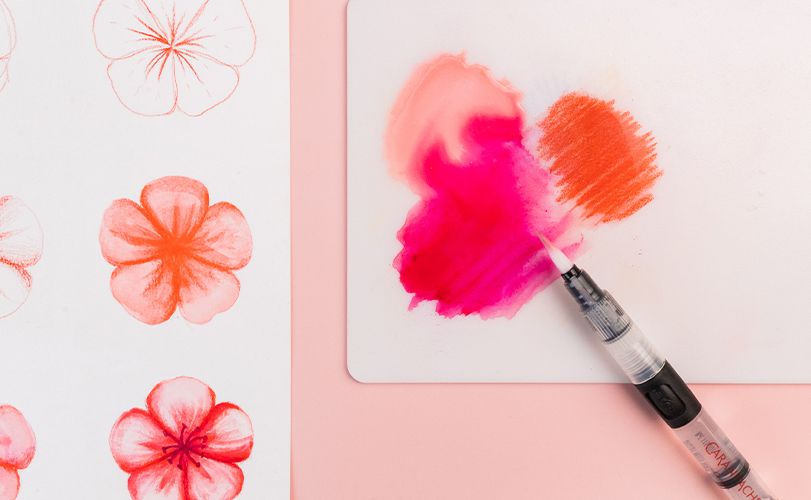
Step 3: Activate the pigments with water
Using a slightly damp brush, activate the pigments that are on the paper.
Gently brush over the coloured areas to dissolve the pigments and create a watercolour effect.
The water will:
• soften transitions between colours;
• create natural gradients in the petals;
• gently diffuse the pigments.
Let the paper dry completely between each step.
Step 4: Layer colours to create depth
Once the first layer is dry, you can highlight certain areas with more intense shades.
This technique works by applying successive layers of glazing. Each new layer brings more depth to your watercolour.
You can proceed in three stages:
1. A first layer of light colours.
2. Antermediate tones to shape the petals.
3. Darker shades to enhance contrast.
Focus on shadow areas, the base of the petals and the densest parts of the flower.
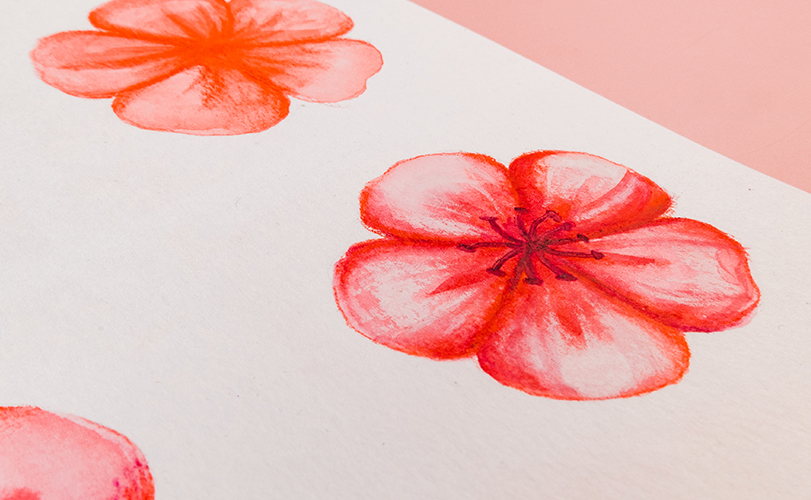
Step 5: Add details and texture
Refine details using undiluted water-soluble pencils and add:
•the veins of the petal;
•outlines of certain areas;
•the darkest shadows.
Tip: To add even more texture, you can lightly scrape the pencil’s lead with a craft knife to sprinkle pigments onto a damp area.
Now let your drawing dry completely. Your watercolour is finished!
To showcase your floral artwork, discover our tips on how to frame a watercolour.
Inspired by nature? Discover our tutorial on how to draw a Spring landscape with Fibralo™ Brush felt-tip pens.
OUR TIPS FOR DRAWING SUCCESSFUL WATERCOLOUR FLOWERS WITH WATER-SOLUBLE PENCILS
Drawing watercolour flowers is perfectly suited to beginners. Here are a few tips to guide you:
• Work in light layers: layering colours creates more depth in the petals.
• Vary colours within a single flower: touches of yellow, pink or violet add realism.
• Let each layer dry between steps: this prevents colours from blending too much and allows for precise details.
• Observe real flowers: their shapes and nuances are your best source of inspiration.
Would you like to master this technique? Discover our tips for getting started with watercolour, choosing your materials and learning how to mix colours.
WHICH FLOWERS ARE EASY TO PRACTISE WITH AND PAINT IN WATERCOLOUR?
Some flowers are particularly well suited to learning watercolour. Their simple shapes allow you to focus on colour, gradients and how water affects pigments.
• Daisy: ideal for beginners, with elongated petals and a round centre.
• Tulip: its simple shape makes sketching easier and offers beautiful gradient possibilities.
• Anemone: perfect for practising gradients and shadow effects around its dark centre.
• Lavender: great for practising small strokes and dabs of colour, and botanical compositions.
• Poppy: its slightly crumpled petals are ideal for exploring transparency and gradients.
• Rose: excellent for working on colour layering. Depending on your level, you can keep it simple or develop more detailed volumes and nuances.
Would you like to continue exploring the many possibilities offered by Caran d’Ache water-soluble colour pencils? Flowers, landscapes, travel sketchbooks or botanical illustrations—each subject is a new opportunity to experiment with colour and water effects.
Discover more tutorials, tips and creative ideas on our blog to inspire and support your future artistic projects.

Free from 199$ purchase.
Possible return under 14 days.
Possible return under 14 days.







Create an account to benefit from all the exclusive advantages of our loyalty program.
Choose your online shop based on which country your order will be sent to
 Switzerland

Let’s stay in touch
Subscribe to our newsletter and benefit from a 10% discount on your next order.